
Friday Fun
Today we get to experiment with sponge painting. It’s easy to do and you don’t need to go buy special art supplies other than the paint. Remember it’s not about a perfect rendering but having fun and trying something different. Let’s get started…

Supplies:
Painting surface (something to paint on heavy coated paper or cheap canvas)
Paints (cheap acrylic or poster paints) colors: orange, yellow, blue, white and black
kitchen sponge
Q-tips
tape

Prep work:
Tape about 5-7 Q-tips together and set aside we will use these later towards the end of the painting. If you have a big sponge cut it into smaller pieces and you can use different sponges for different colors.
Start in the bottom third of the painting surface. Use white and just a little bit of orange (too much and it will look orange and not light orange) and sponge it in across the lower third of the painting.
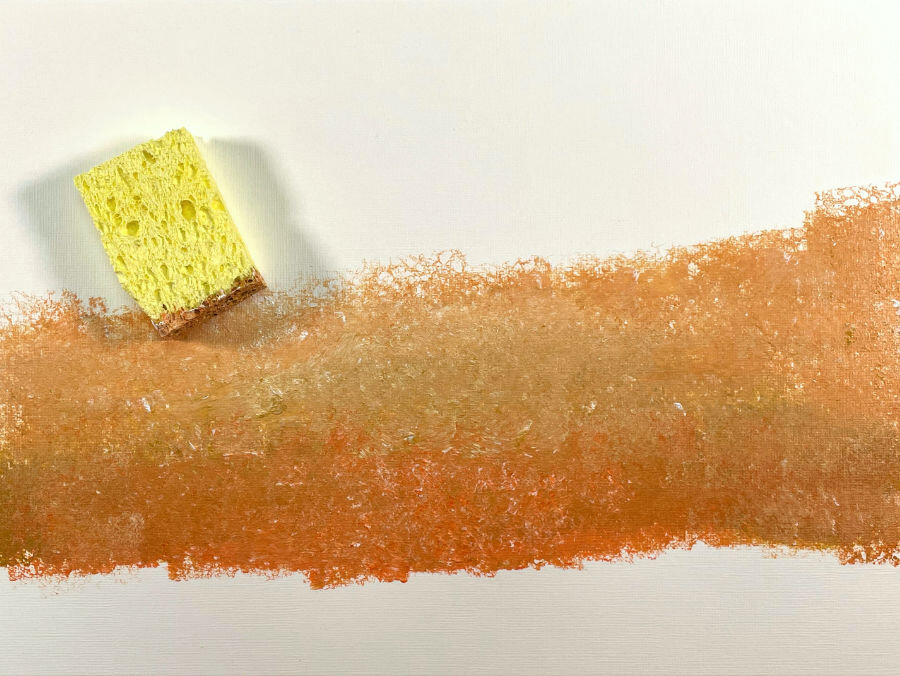
Sponge in yellow (white and just a little bit of yellow) right above the orange area. It’s ok to overlap some, it will even help make it look better.
Sponge in blue (white and just a little bit of blue) at the top of the painting and work your way down towards the yellow area and overlap the colors.

Use the Q-tips to paint in the sun brighter and then sponge in the clouds (white, little bit of blue and orange)
Finish with black (orange, blue and black) to sponge in the hills and use the Q-tips to paint in the trees. If you have a small paint brush add a few lines for tree trunks and branches.

Good job! See you next week.